Thursday, December 16, 2010

Book Touring Blogger's Guilt w/ Apple Crisp

Authors love to complain about book tours…even though they get tons of attention, stay in beautiful hotels, have stolen moments for breakfast or dinner with people they really like but rarely get to see, meet new interesting people who also (by the way) take care of them and drive them and make sure everything goes well for them at every event, etc.
And I’m no exception (about the complaining I mean) but how can I complain when I see buckets of good press for Chewy Gooey and I learn that my publisher is ordering a second printing for the book. Complaints? I will just say that I returned home from this last leg of touring happy for my own bed and a couple glorious morning sleep-ins, and my own good cup of coffee. But hey, where is my room service?????

I also returned with blogger's guilt. Why didn’t I post my favorite Thanksgiving dessert? Why didn’t I write something about book touring while actually on the book tour? (How do people blog from their iPhones I wonder?)

Fortunately Bea’s Apple Crisp is one of my favorite desserts for the entire fall holiday season…and beyond.


Bea's Apple Crisp
From: Pure Dessert (Artisan; 2007) by Alice Medrich

By the l970’s my mother’s magnificent double-crusted apple pie—perfected during my little girlhood—gave way to a series of lighter, simpler experiments. Around the turn of the twenty first century, The Pie became The Crisp. You might assume that The Crisp is best served warm or at room temperature. But I especially love it cold, even after two or three or four days in the fridge! Whipped cream on top is always nice, but not essential.

The skins left on the apples actually add flavor and body to the juices, as do the dried apricots and orange zest. If some or all of the apples are red (but crisp and at least a little on the tart side), the filling will have a beautiful rosy hue. Chunks rather than wedges are the preferred cut, because small squares of apple skin are pleasant to eat while long thin pieces only suggest that the cook was lazy instead of smart like a fox.

Ingredients for the topping:

1/2 cup (2.25 ounces) all purpose flour
1/2 (1.85 ounces) cup rolled oats
Scant 1 cup (3.5 ounces) coarsely chopped walnut pieces
1/2 cup (3.5 ounces) sugar
5 tablespoons (2.5 ounces) unsalted butter, melted
1/8 teaspoon salt

For the filling:
Grated zest and juice of 1 bright skinned orange, preferably unsprayed or organic
1/2 cup (2 1/2 ounces) dried apricots, coarsely chopped
1/4 to 1/2 cup sugar, depending on the tartness of the apples
1 teaspoon ground cinnamon
6 medium sized, crisp flavorful apples with a decent balance of sweetness and acidity (I have used all or a mixture of pippins, granny smiths, sierra beauties, and new crop jonathans)
1 cup heavy whipping cream, lightly sweetened and whipped, optional for serving


Equipment:

2 quart baking dish

Position a rack in the lower third of the oven. Preheat the oven to 350 degrees F. Liberally butter the baking dish.

To make the topping: Combine all of the ingredients and mix well. Set aside.
To make the filling: in a medium saucepan, combine the orange zest, juice, and chopped apricots, and bring to a simmer, and cook until the apricots are soft. Set aside.
In a large bowl, mix the sugar and cinnamon. Halve and core the apples. Lay each half cut side down and cut twice in each directly to make 9 chunks. Add the chunks to the bowl and toss apples with the sugar and cinnamon. Stir in the apricots and juice from the saucepan.

Scrape the mixture into the buttered baking dish and spread evenly. Distribute the crumbly topping evenly over the apples. Bake until the crisp is browned on top and the juices are bubbling and thickened, about 1 1/4 to 1 1/2 hours. Serve warm, cool or cold, with or without very lightly sweetened whipped cream. Serves 6-8.

Thursday, November 4, 2010

The Safe Drivers' Guide to Cupcake Calculation

I had a last minute email from the folks at Scharffen Berger Chocolate asking for an alternate version of the chocolate cupcake recipe that I created for the Scharffen Berger Tutti Foodie 2010 Chocolate Adventure Contest website (www.chocolateadventurecontest.com). The alternate version would call for unsweetened chocolate instead of cocoa powder, and it was needed almost immediately (don’t ask…). Hmmph.

Meanwhile, I had to drive from Berkeley to Cupertino at rush hour. I thought I’d pass the time by listening to NPR (of course) and thinking about how to revise the original (and really good) recipe.

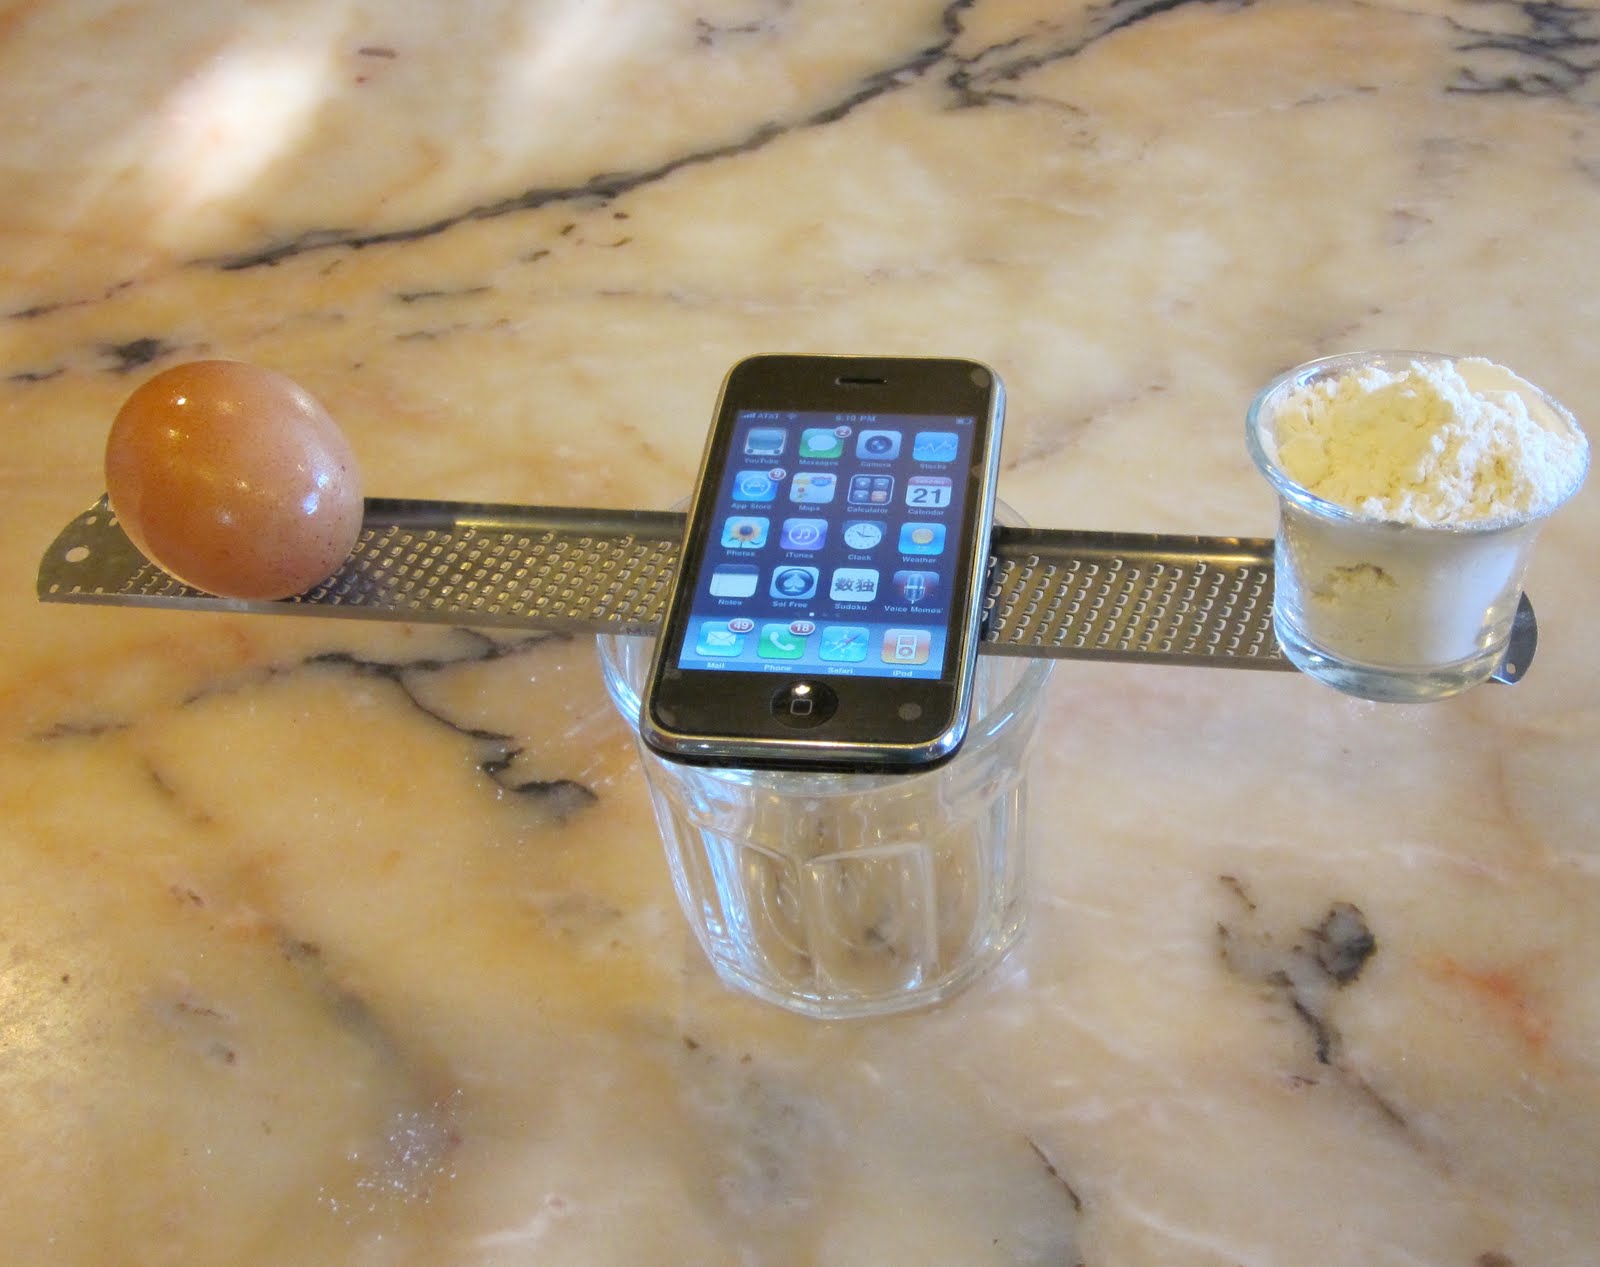
Such a revision starts with simple math to figure out how much unsweetened chocolate would be needed to replace the 1 ½ ounces of cocoa in the recipe and to figure out how to adjust the amount of butter in the recipe to account for the increase in fat from the unsweetened chocolate. The cocoa is about 22% fat and 78% pure non-fat cocoa and unsweetened chocolate is a little over 50% fat. Had I been at home, I would have written a simple equation and used a calculator. I’ve always like math…

But in the car? I was pretty sure that using my Iphone calculator while driving was as dangerous as texting. So I decided to round off the ingredient stats so I could do the math in my head, easily and without killing anyone. I would treat the cocoa as though it were fat free and the unsweetened chocolate as 50% fat. Then it was easy to figure out that I would need 3 ounces of unsweetened chocolate to get the effect of 1 ½ ounces of cocoa powder. But substituting 3 ounces of unsweetened chocolate for 1 ½ ounces cocoa would also add 1 ½ ounces of fat to the recipe. I could compensate by subtracting 1 ½ ounces (3 tablespoons) of butter from the original 8 tablespoons in the recipe. Easy so far.

I was still driving impeccably, but the time had passed so quickly and pleasantly that I feared I might have driven past the Dumbarton Bridge without noticing. Where was I anyway? Uh oh. But no, Fremont comes before the bridge; I was still on track

I drifted back to my cupcakes (while staying scrupulously in my own lane of course). I began to think about how the texture might change from using chocolate instead of cocoa powder. Cocoa butter (which is the fat in the chocolate) melts at a higher temperature than regular (dairy) butter, and I would be replacing some regular butter with cocoa butter. This might produce a heavier, coarser crumb and a seemingly drier texture because cocoa butter takes longer than regular butter to melt on your tongue. My original cupcake was light, tender and moist—exemplary of the advantages of using cocoa instead of chocolate. What to do? Still driving safely, I decided to trade just a little of the butter for vegetable oil to counteract the harder cocoa butter. I arrived in Cupertino with a good mental draft of my revised recipe. I hadn't run anyone off the road either.

I tested the new cupcakes at home (as yet I have no oven or mixer in my car) and found them to be excellent. I didn't need to change a thing! Even I was amazed.


Later, out of curiosity (and yes, like a dog with bone), I sat down with a calculator and did the math accurately. It’s a good thing I decided to drive safely, because rounding off the ingredient stats resulted in my using more chocolate than I otherwise would have and conjuring up a terrific new recipe with only one real test! What more could I ask? Scroll down to see the original recipe and the Safe Driver’s Revision followed by a recipe for the frosting.

Are there morals to this story? 1. Doing the math is always helpful but you don’t always have to be perfectly accurate 2. It’s always good to consider what you know about the ingredients because math is not enough, and 3. You always have to test. Oh, and 4. Never text, use a calculator, or test a recipe while driving.

Want to learn more about formulas and strategies for converting recipes from one type of chocolate or cocoa to another? Check out the Dessert Makers’ Guide to Working with Chocolate, page 344, of my book, Bittersweet: Recipes and Tales from a Life in Chocolate (Artisan, 2003).

SCHARFFEN BERGER CHOCOLATE CUPCAKES
These are light, tender, moist, chocolaty, and so easy to make. The Safe Drivers’ Revision follows, and after than you'll find the frosting recipe. Make the frosting first and it will be almost ready to use by the time the cupcakes are baked and cooled.

Ingredients:
1 cup (4.5 ounces) all purpose flour
1 cup plus 2 tablespoons (7.3 ounces) sugar
1/3 cup plus 2 tablespoons (1.5 ounces) Scharffen Berger Unsweetened Natural Cocoa Powder
1/2 teaspoon baking soda
1/4 teaspoon salt
1/2 cup (1 stick or 4 ounces) unsalted butter, melted and warm
2 large eggs
1 teaspoon pure vanilla extract
1/2 cup hot water


Equipment:

1 regular (not jumbo) cupcake pan with 12 cups, lined with paper liners
A hand held electric mixer or stand mixer with the whisk attachment (if you have a choice)
Position a rack in the lower third of the oven. Preheat the oven to 350 degrees.

In a large mixing bowl, mix the flour, cocoa powder, sugar, baking soda, and salt together thoroughly. Add the butter, eggs, and vanilla and beat on medium speed for one minute. Add half of the water and beat for 20 seconds. Scrape the sides of the bowl and add the remaining water. Beat for 20-30 seconds until the batter is smooth. The batter will be thin enough to pour. Divide it evenly among the lined cups. Bake 18-22 minutes (rotating the pan from front to back half-way through the baking time), just until a toothpick inserted into a few of the cupcakes comes out clean. Set the pan on a rack to cool for ten minutes. Transfer the cupcakes from the pan to the rack and let them cool completely before frosting or filling. Store and serve at room temperature. Makes twelve cupcakes

TIP: For light tender cupcakes, spoon flour and cocoa lightly into measuring cups (instead of dipping the cups into the flour or cocoa) and then sweep the measures level without tapping or shaking them. Better still, use your scale.

SAFE DRIVERS' AKA SCHARFFEN BERGER CHOCOLATE CUPCAKES 2.0
This version calls for unsweetened chocolate instead of cocoa and a little oil in addition to the butter.

Ingredients:
1 cup (4.5 ounces) all purpose flour
1 cup plus 2 tablespoons (7.3 ounces) sugar
½ teaspoon baking soda
¼ teaspoon salt
3 ounces 99% Unsweetened Scharffen Berger Chocolate, coarsely chopped
3 tablespoons (1.5 ounces) unsalted butter
2 tablespoons vegetable oil
2 large eggs
1 teaspoon pure vanilla extract
½ cup hot water

Equipment:
1 regular (not jumbo) cupcake pan with 12 cups, lined with paper liners
A hand held electric mixer or stand mixer with the whisk attachment (if you have a choice)

Position a rack in the lower third of the oven. Preheat the oven to 350 degrees.
Melt the chocolate and butter in a stainless steel bowl set directly in a wide skillet of almost simmering water. Set aside.

In a large mixing bowl, mix the flour, sugar, baking soda, and salt together thoroughly. Add the very warm chocolate mixture, oil, eggs, and vanilla and beat on medium speed for one minute. Add half of the water and beat for 20 seconds. Scrape the sides of the bowl and add the remaining water. Beat for 20-30 seconds until the batter is smooth. Divide the batter evenly among the lined cups. Bake 18-22 minutes (rotating the pan from front to back half-way through the baking time), just until a toothpick inserted into a few of the cupcakes comes out clean. Set the pan on a rack to cool for ten minutes. Transfer the cupcakes from the pan to the rack and let them cool completely before frosting or filling. Store and serve at room temperature. Makes twelve cupcakes

TIP: For light tender cupcakes, spoon flour lightly into measuring cups (instead of dipping the cups into the flour) and then sweep the measures level without tapping or shaking them. Better still, use a scale!

SCHARFFEN BERGER CHOCOLATE FROSTING
For the smoothest and glossiest frosting, allow it to cool and thicken slowly at room temperature (without stirring) while you make your cupcakes!

Ingredients:
3 ounces unsweetened Scharffen Berger 99% unsweetened chocolate, coarsely chopped
4 tablespoons (1/2 stick or 2 ounces) unsalted butter, cut into several pieces
2/3 cup heavy cream
2/3 cup sugar
1/8 teaspoon salt


Place the chocolate and butter in a medium bowl and set aside. Bring the cream, sugar, and salt to a simmer in a large saucepan. Simmer for 4 minutes, stirring frequently. Pour the hot cream over the chocolate. Whisk just until the chocolate is completely melted and the mixture is smooth and glossy. Set aside to cool at room temperature, without stirring for 2 to 3 hours, or until the frosting is cool and thick enough to spread. Or, refrigerate the frosting for about 45 minutes or more (but not until it is hard) without stirring, then let it stand at room temperature until it is the desired consistency. Makes about 1-1/2 cups of frosting

Thursday, September 30, 2010

National Homemade Cookie Day

Yes, it’s already NHCD and my new book, Chewy Gooey Crispy Crunchy Melt-In-Your-Mouth Cookies is still about 3 weeks away. Who plans these things?

To celebrate the perfection of my timing, here’s an enticing preview of the book to come, complete with recipe. It’s the least I can do.

Look for killer brownies (including the ones with the ice bath technique), incredible new chocolate chip cookies, amazing graham crackers, French macarons, a gaggle of gluten free cookies, gooey caramel-filled alfajores, healthy whole wheat biscotti, and more. Some of my newest favorite cookies involve mixing nut butters (such as peanut butter or sesame tahini) with meringue. The results are fantastic!

CHUNKY PEANUT BUTTER CLOUDS
When you add crunchy toasted hazelnuts or almonds and generous shards of creamy milk chocolate to melt-in-your mouth peanut butter meringues, you get a symphony of textures with a sweet and salty finish. Make sure you use natural peanut butter—yes, the kind you have to stir in order too blend in the oil. It’s pesky, but the other kind is too sweet, hard to disperse in the meringue, and just generally not as good. Trust me.

Makes 30-36 cookies.

Ingredients:
3 egg whites, at room temperature
1/8 teaspoon cream of tartar
2/3 cup (4.625 ounces) sugar
1/3 cup (3 ounces) chunky or smooth natural peanut butter, well stirred before measuring
2/3 cup (3.3 ounces) toasted and skinned hazelnuts or toasted almonds, very coarsely chopped
3 ounces coarsely chopped milk chocolate (such as Scharffen Berger Rich Milk Chocolate), or 1/2 cup milk chocolate chips
3 tablespoons finely chopped salted peanuts

Equipment:
Cookie sheets lined with parchment paper
Preheat the oven to 200 degrees. Position racks in the upper and lower thirds of the oven
Combine the egg whites and cream of tartar in a clean dry bowl. Beat at medium-high speed with a heavy-duty stand mixer (or high speed with a hand mixer) until the egg whites are creamy white (instead of translucent) and hold a soft shape when the beaters are lifted. Continue to beat on medium to high speed, adding the sugar a little at a time, taking 1 1/2 to 2 minutes in all, until the whites are very stiff. Scatter small spoonfuls of peanut butter over the meringue. With a large rubber spatula, fold about three strokes. Scatter the nuts and chocolate over the batter and continue to fold until they are dispersed 
and the peanut butter is mostly blended; a few uneven streaks of white meringue are okay.

Drop rounded tablespoons of meringue 1 1/2 inches apart on the lined cookie sheets. Sprinkle each meringue with a pinch of the chopped peanuts. Bake for 1 1/2 hours. Rotate the pans from top to bottom and from front to back halfway through the baking time to ensure even baking. Remove a test meringue and let it cool completely before taking a bite (meringues are never crisp when hot.) If the test meringue is completely dry and crisp, turn off the oven and let the remaining meringues cool completely in the oven. If the test meringue is soft or chewy or sticks to your teeth, bake for another 15 to 20 minutes before testing another.

To prevent cookies from becoming moist and sticky, put them in an airtight container as soon as they are cool. Cookies may be stored in an airtight contain for at least 2 weeks (but usually a lot longer).

Saturday, September 25, 2010

Lost Blog: What No One Told Me

I “lost” my blog in cyber space for a few days. It had something to do with trying to make the address shorter and the whole thing easier to find. Poof it was gone. I was predictably freaked out…so much psychic energy went into setting it up and writing those posts. But more importantly and surprisingly, I found myself actually missing it. It was the stray you wish you hadn’t adopted, but to whom you’ve somehow grown attached. I began to prepare myself for the possibility that it might be gone forever. Would I start over? Could I bond with a new one…? When it suddenly “returned” one morning (not without considerable help and lots phone calls), I was relieved.

Welcome home wayward, burdensome, little nuisance. After only three posts I’m smitten and have these 10 reflections on blogging so far.

No one told me:

It would be so engaging.

It would be so time consuming.

I’d begin watching myself (as if from above) and internally narrating my actions in full sentences.

I’d begin to wonder if what I was doing, eating, thinking, reading, or drinking was of any interest to anyone else and if so, what should be said about it.

I’d need more than two hands to bake a cake (an extra pair to take action shots).

I’d feel guilty if I ate or baked something without taking a picture.

I’d start taking pictures of my breakfast, the mess on my counters, peelings left after eating fresh lychee nuts, an empty dish after four of us demolished a flan, a gift of warm just-laid eggs in a paper bag.

I’d generate such a large list of topics, and then have to cross them off one by one because I couldn’t figure out what point I would be trying to make.

I’d be wondering if this is a healthy way to live.

I’d be excited (none-the-less) to try the next topic….

Friday, September 3, 2010

Weight(y) Matters

Maybe it would take an iPhone app to get American home bakers to toss their measuring cups and start using a scale. If you want to skip my lecture on measuring (and why you should get a scale), just scroll down to see some iPhone apps (feel free to send your own photos). Meanwhile, ye faithful, read on…

They used to say American home cooks were intimidated by scales. Or was it that scales were too European? Or was it a slippery slope thing—a scale in the kitchen would lead to the dreaded metric system? Now that we think, cook, and eat globally, now that we are computer savvy from age two, now that every child's grandma has an iPhone… How can a kitchen scale be intimidating?

Let me review why a scale improves baking and makes life in the kitchen easier.

First, when I say scale, I don’t mean a spring-loaded thing with a dial. I do mean a scale with batteries (like your smart phone, your iPod, your camera, and all of your other necessities). The scale should register eighths or tenths of an ounce. Such a scale can be had for less than the cost of ten lattes, btw. And, you can learn to use it in less time than it takes your barista to make those ten lattes.

If you bake (especially if you bake), here’s why you want a scale.
Consider flour. A heavy hand with flour is the prime suspect for bad baked goods. The amount of flour you put into your measuring cup can make the difference between a moist, light, poem of a cake and a doorstop. It can make the difference between buttery melt-in-your-mouth cookies (or fluffy pancakes) and miniature paperweights. What is a cup of flour anyway? If you stir the flour in your canister a little (but not to much) to loosen it, and then spoon it lightly into your measuring cup and sweep it level without packing, tapping, jiggling or shaking the cup, you’ll have 4 ¼ to 4 ½ ounces of flour in your cup. If you dip your cup into that same canister, and level it against the side, or shake it or tap it or jump up and down to level it, who knows how much flour you’ve got in there? And, if you measure right from the flour sack stored in the pantry jammed behind cans of beans or under the potatoes, then all bets are off. I asked a close friend to please measure a cup of flour at her house, as though she were preparing to bake a cake, and dump it into a bowl and bring it to me at my house. I put her cup of flour on my scale. It was 33% heavier than the lightly spooned and leveled cup described at the top of the paragraph. Can you tell me that a cake or cookies made with a 6-ounce cup of flour will come out remotely similar to those made with a 4 ½ -ounce cup?

Maybe you are living gluten free? Maybe you’ve wondered why you get great results from some recipes only some of the time? Gluten free baked goods are hypersensitive to measuring variation, and the non-wheat flours and starches (rice, corn, tapioca, oat, bean, potato, et al) are especially hard to measure consistently using measuring cups. To add insult to injury, if you make your own gluten free flour blend, the weight of 1 cup of your blend will depend on whether you measure it right after blending or weeks later after it has settled in the canister (that is, unless you make a point of really fluffing the mix before you measure each time). Masterful gluten free baking is challenging enough; using a scale eliminates one very significant wild card.

More reasons to use a scale? A scale streamlines your movements in the kitchen. You can measure ingredients right into the mixing bowl, so you’ll use fewer utensils and have less to clean up. A scale means never having to sift or chop before measuring, and never having to wonder how lightly or firmly to pack a cup of brown sugar. Some of the best chocolates don’t come in one once squares, so you need a scale. I could go on…

A scale means that your results for a given recipe will be more consistent from one time to the next, even (or especially!) if you bake that cake only once a year. If you are someone who is always tinkering and tweaking recipes—you probably make notes in the margin. Weighing is a better way to track your tweaks, especially small changes in critical ingredients such as flour.

The rub? Not all recipes give weights (yet). Many cookbook or recipe authors don’t even tell you how they use their measuring cups, especially when measuring flour. That being said, more cookbooks than you think do explain measuring style—usually in the front or back of the book, where cooks in a hurry never venture. Go there and see! Baking books are more apt to give weights and they almost always describe how to measure flour with a cup if you don’t have a scale. You will get better results with a specific recipe if you measure like the cook who created the recipe, and more consistent results if you weigh… I usually assume that a lightly spooned and leveled cup of flour is meant to be 4 ¼ to -4 ½ ounces while a dip-and-sweep cup is meant to be about 5 ounces, unless of course the author tells me otherwise.

Meanwhile, here are some ways to use your iPhone to measure flour:


Don't forget the formula for classic pound cake: equal weights of flour and eggs...


Monday, August 23, 2010

Another* Nectarine Story

Fruit is memory food for me. A bite of this, a whiff of that can take me instantly to my Southern California roots (picking succulent plums from our rooftop with my best friend Linda, parking in the orange groves with my boyfriend). Often the memory is France, vivid, random, sweet…

I recently joined old friends for brunch just up the street, in the middle of the week. So luxurious. It felt like Sundays of old. My friends are retired and I seem to work all of the time lately, so it doesn’t matter for me either, whether it’s weekday or weekend. But it still felt like Sunday. The talk was so good that I barely noticed what I was eating until I’d helped myself to fruit salad three times. Sensational fruit in a giant stoneware bowl. There was a whisper of cinnamon in every bite, really just a nuance. And the fruit was bright and sweet and tart on my tongue, just as it should be. I know my hostess well enough to know she hadn’t added sugar to perfect fruit. But she had just tossed it with a little limejuice and a squeeze of orange, and pinches of cinnamon. I left with the taste in my head, saving it for later.

A few days ago, I needed a palate-cleansing snack, just for myself—something light and refreshing, without chocolate, butter, or white sugar, please. I sliced a nectarine, squeezed a little lime and grated a little cinnamon. Freshly grated cinnamon stick is magical--it perfumes the air and your fingers as well as flavoring the food. I was starting to add the ripe blackberries and tiny strawberries from my Thursday night North Berkeley farmers’ market, meanwhile previewing the fruit with juicy fingers. Licking a finger, it hit me that the big (really big) star on the plate was just the nectarine with the lime and cinnamon. Thinking back, Nancy’s salad had lots of nectarines. It was the nectarines that carried the dish! I set my lush blackberries and exquisite strawberries aside for another moment, just to focus on the nectarines.


Recipe: Slice ripe nectarines. Squeeze a little limejuice over the fruit. Toss very gently to keep the slices looking virginal. Serve on the hand-painted plates that you bought in Moustiers 20 years ago on a summer afternoon, after pedal boating in the Gorges du Tarn. Grate a little cinnamon stick over each plate.

*My first nectarine story, “Chocolate And The Nectarine” can be found on page 68 of my book, Bittersweet: Recipes and Tales from a Life in Chocolate.

Wednesday, August 18, 2010

The old author as new blogger

My 8th book, Chewy Gooey Crispy Crunchy Cookies, will be out this fall. I'm excited to be finished with it. Now it's been "suggested" (didn't I put that delicately?) that the best way to celebrate the completion of a new book is to blog about it.

What a surprise to learn that starting a blog is more intimidating than writing a book. It’s immediate. Where is the editor to prevent one from making a fool of oneself or committing atrocious grammar? The spontaneity goes against my nature, which is to write (or test) and rewrite (or retest) and rewrite and retest again. To ease into it, I planned a little essay on the creative process. I love to hear any artist (writer, painter, dancer, musician, chef) discuss their work. Even the most mundane details of how they actually do the work has a voyeuristic fascination for me. National Public Radio is a staple in my kitchen. I love Terry Gross and City Arts and Lectures. I planned to cite Malcom Gladwell’s descriptions of artists and their work styles from his New Yorker piece, “Late Bloomers”.

But by the time I sat down to write that essay, I was overcome by my own process. All kitchen counters and the dining room table were covered with labeled samples. The actual work area was a landscape of drips, greasy spatulas, and bowls full of goop flanked by clipboards with handwritten notes coded to match (I hope) the labeled samples. I start a clipboard at the beginning of each project (book, magazine article, client) and after a while I move pages from the clipboard into a binder so I can put tabs on groups of pages to keep some order. I try to remember to date every page and I put the most recent page on top, like a legal brief. I used to be able to have three or four clipboards in play at one time. But lately not so much. After scribbling tasting notes on the wrong clipboard a few times, I refined my process. Now it’s one or possibly two clipboards at a time, and NPR stays on.

I have a reputation for testing. A lot. Anyone who has read or cooked from my books, Bittersweet or Pure Dessert knows this. I thought I was normal until Dianne Jacob described my testing mania in her book, Will Write for Food (a wonderful manual for budding food and cookbook writers, btw). Then I felt self-conscious. But, some times multiple trials are necessary to get flavor, texture, and visuals of a dessert right to begin with. Other times I retest because I’m stubborn or curious. Even when I like my results, I catch myself wondering what would happen if I made this little change, or that one. I love how small details make a difference. “What if this, what if that” is the hallmark of my process and perhaps my greatest professional and artistic asset and also my biggest liability. If I take more time on a recipe than I think I should, I figure it’s an investment for a future project. You can imagine where that leads…

Welcome to my blog, I promise recipes and photos (and shorter posts) in future, but meanwhile check out Malcolm Gladwell’s “Late Bloomers” to find out if you are more like Picasso or more like Matisse. http://www.newyorker.com/reporting/2008/10/20/081020fa_fact_gladwell?printable=true